Big screens get attention. A wall of screens, though, can hold attention. The catch is that most multi-screen setups fall flat. Gaps show. Colors drift. Content looks stretched or clipped. The visual impact fades fast when the system behind it can’t keep the screen group in sync.
So the real question becomes: How do you make multiple screens behave like one?
This guide lays the path out. You’ll see how to plan the physical layout, link the screens together, sync content, and deploy everything so it runs smoothly day after day. No guesswork. No trial and error. If creating a multi-screen display that wows is the goal, you’re in the right place.
Set the Screen Layout Up for Balance
A video wall only looks impressive if the layout feels intentional. Uneven alignment or mismatched spacing pulls attention away from the content and makes the wall feel improvised. The goal is to guide the eye smoothly across the screen group so viewers read the message without effort.
Start by deciding how the screens relate to each other. A grid layout works well for structured environments. A staggered layout adds motion and visual interest, but it still needs a clear rhythm. The alignment tells the viewer how to follow the content.
Key considerations:
- Match screen sizes. Mixed sizes create visual disruption and make content mapping harder.
- Keep bezels tight. Wider gaps between screens interrupt continuity.
- Align edges carefully. Slanted edges signal imbalance even if the viewer doesn’t consciously notice.
- Plan the viewing distance. If viewers stand close, detail matters. If they stand far, scale matters.
You can sketch the layout out before mounting anything. A simple grid drawn to scale helps you catch spacing issues early. This step saves mounting adjustments later and keeps the final build clean and intentional.
Pick Hardware That Keeps Digital Signage Playback Steady
Multi-screen displays run as a single visual surface. To make that work, the hardware needs to handle timing, frame consistency, and color uniformity across every screen. Weak links in the chain will show up quickly as flicker, lag, or uneven brightness. A strong foundation avoids those issues before content ever hits the wall.
Commercial-Grade Displays
Use screens built for continuous uptime. These displays manage heat better, maintain consistent brightness, and support tighter bezel alignment. Color calibration remains stable over longer operating cycles, which matters when multiple screens form a shared image.
Key points to assess:
- Panel type and color uniformity tolerance
- Maximum brightness rating for the intended lighting environment
- Bezel thickness and alignment potential
- Operational duty cycle rating
A shared calibration profile across all units reduces visual drift.
Media Players Built for Multi-Screen Sync
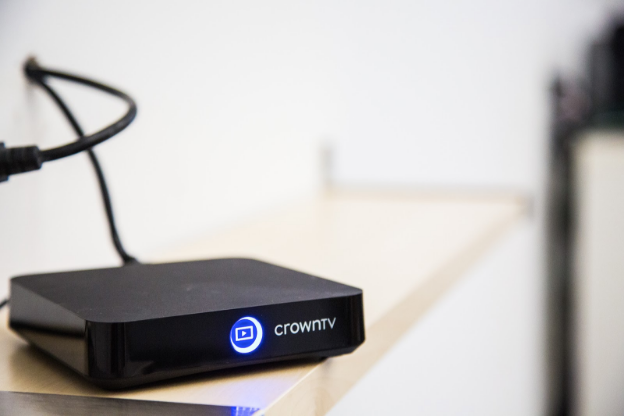
The media player controls how content travels across the wall. Consumer streaming boxes struggle with grouped output. They often introduce desync or fail to keep frames aligned. A dedicated digital signage media player processes content with synchronized timing logic.
A compact device such as CrownTV’s digital signage media player provides:
- Stable output designed for continuous playback
- Hardware-accelerated decoding for visual smoothness
- Simple screen grouping controls through software
- Quiet operation to avoid fan noise issues
This keeps playback steady without relying on external synchronization workarounds.
Signal Distribution and Cabling
Once timing is solid, signal integrity matters. Each screen must receive clean data at the correct rate.
Use the following approach:
- Active HDMI or DisplayPort repeaters for long cable runs
- Shielded cabling to avoid interference
- Cable routing that protects bend radius and ventilation paths
Short test runs before final mounting help spot signal drop-off.
Mounting Infrastructure
A video wall depends on precise physical alignment. Even small variations in depth, angle, or height become noticeable across multiple screens. A proper mounting system provides micro-adjustment controls, structural stability, and repeatable positioning over time.
Look for mounting hardware with:
- Fine-tuning adjusters for lateral, tilt, and depth corrections
- Rigid support frames that maintain alignment under load
- Integrated access points to reach wiring without removing screens
- Secure locking mechanisms that prevent gradual drift
Micro-adjustable mounts shorten the calibration phase. Without them, the alignment process often turns into repeated removal, repositioning, and remounting. A mount that holds its position prevents vibration shifts and thermal expansion from loosening alignment over extended operation.
Before final installation, create a load distribution plan for the wall surface. In some cases, additional backing, bracing, or rail systems are needed to prevent stress concentration across mounting points. The wall needs to remain stable under both weight and heat cycles.
Thermal Management
Heat affects playback performance, panel longevity, and color consistency. Multi-screen setups generate concentrated heat, especially when multiple displays run for extended periods. A thermal management plan prevents premature dimming or panel discoloration.
Start with spacing. Leave clear airflow paths around every display. Avoid sealing the video wall inside a recessed cavity without ventilation. Heat needs somewhere to move.
Key practices:
- Ventilation gaps between screens and backing surfaces
- Active airflow systems, when the wall sits in a tight architectural frame
- Cable routing paths that avoid obstructing intake or exhaust zones
- Equipment grouping that prevents power supplies from clustering in one heat pocket
Monitor temperature during initial testing. If heat rises faster than expected, adjust airflow or introduce low-noise circulation fans. A temperature-consistent environment reduces the risk of differential aging across screens, where one part of the wall shifts color faster than the rest.
Thermal balance protects the visual uniformity of the video wall and extends the operational window before maintenance becomes necessary.
Group Multiple TV Screens and Sync Content Across Them

Once the screens are physically aligned, the next task is making them behave as one. The goal is to treat the display group as a single visual canvas. Every screen should update at the same moment, with consistent color and frame pacing. Any lag between panels pulls the viewer’s eye immediately.
Start with a centralized content controller. This system organizes the layout map, coordinates playback timing, and sends synchronized instructions to each screen. Without it, screens update independently and timing drifts.
Create a Screen Map
Before syncing begins, define how the screens relate to each other. This is the layout logic that tells the controller where each portion of the content belongs.
A simple reference table can help:
| Screen Position | Identifier | Content Section |
| Top-left | A1 | Upper-left quadrant |
| Top-right | A2 | Upper-right quadrant |
| Bottom-left | B1 | Lower-left quadrant |
| Bottom-right | B2 | Lower-right quadrant |
This reference keeps visual segments aligned during troubleshooting and updates.
Sync Timing Across Digital Displays
Playback synchronization depends on shared timing signals. The media player or controller should:
- Send updates to all screens simultaneously
- Maintain a steady frame clock
- Queue content segments before display
This prevents one screen from “running ahead” of another.
Maintain Color and Brightness Uniformity
Even if the timing aligns, visual cohesion breaks if brightness or color shifts appear across the wall. Use shared calibration profiles and adjust each screen to match a baseline target. Make calibration adjustments before content rollout, not afterward.
Run Short Playback Trials
Before going fully live, run short loop tests. Watch for:
- Frame skipping
- Slight delay in one panel
- Color or gamma drift
- Scaling mismatches
Tightening these details early results in a video wall that reads as one image instead of multiple screens placed side by side.
This stage ensures the final display delivers smooth motion and visual cohesion.
Deploy the Video Wall into a Live Environment Without Glitches
After all we’ve talked about—the layout, hardware, grouping, and synchronization—it’s time to move from the test bench to the real environment. This stage exposes the system to live network traffic, environmental conditions, and operational variables. The goal is simple: zero interruptions once the screens go live.
Smooth deployment depends on structure, not speed. Each phase—testing, configuration, and go-live—needs to be handled methodically so issues don’t surface later under full load.
Conduct a Full Pre-Deployment Test
A pre-deployment test replicates the live run conditions before the wall enters public view. Treat this phase as a controlled trial that exposes performance issues while adjustments remain easy. This is where the video wall controller proves its timing stability and ability to coordinate multiple TV screens as one cohesive display.
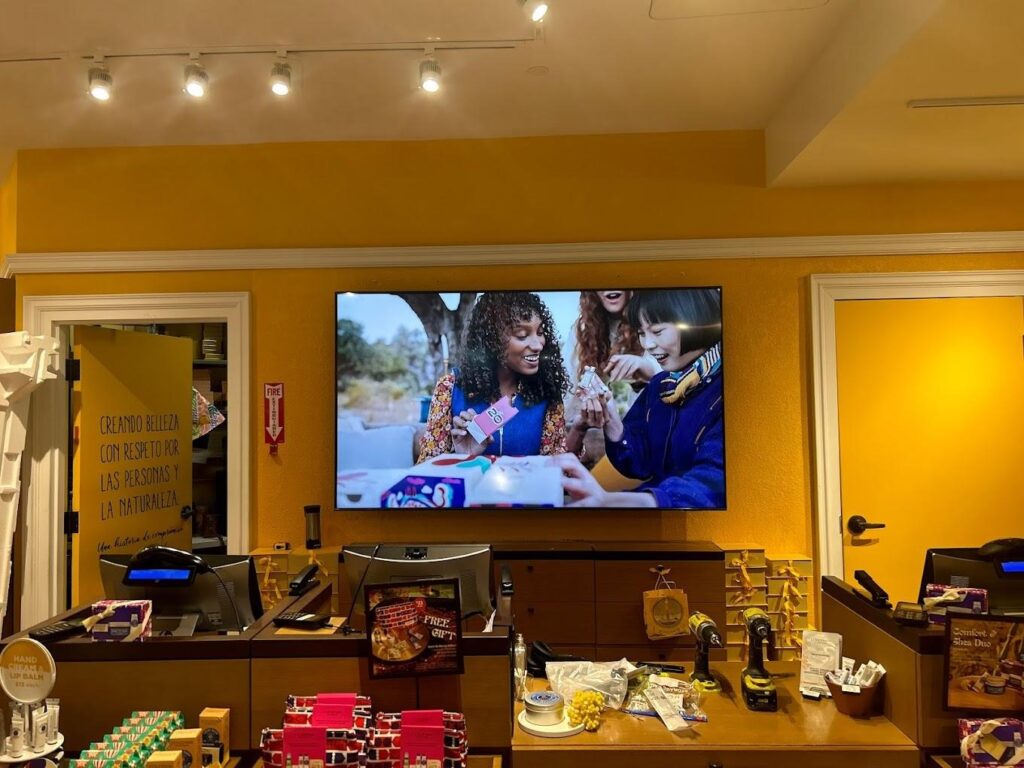
Run the wall with the exact video wall content planned for launch. Avoid placeholder clips. The purpose is to observe how the system handles transitions, motion segments, color gradients, and sustained playback periods. Monitor image quality closely, especially across LED panels or LCD screens, as color variation often shows during long playback cycles in brightly lit indoor spaces.
During the test, track:
- Frame pacing: Each panel should refresh at the same interval.
- Bitrate stability: Higher bitrate media stress decoding hardware.
- Thermal rise: Measure temperature at multiple points.
- Recovery behavior: Disconnect one panel temporarily to confirm rejoin sync.
If any irregularities appear, refine at this stage. Correcting issues after installation increases operational downtime.
Stage Configuration on a Local Network
Configure all components offline before introducing them to the live environment. A private subnet isolates configuration work and avoids unintended network conflicts. Confirm that the system retains playback synchronization without requiring continuous internet access during regular operation.
During staging:
- Assign static IP addresses to each node.
- Document naming conventions linked to physical positions.
- Apply firmware updates here, not later.
- Store configuration files in version control for rollback security.
Once stable, transition the system to the operational network as one unified unit.
Validate Signal and Control Paths
Signal integrity determines visual stability, and control path reliability determines operational responsiveness. Map every signal route from source to final panel. Confirm cable bandwidth supports high-resolution displays across the wall. For long runs, active boosters may be necessary to sustain clarity, especially in projects using LED displays, LCD displays, or mixed display technology.
Test control channels individually:
- Issue power cycle commands.
- Push synchronized content refresh directives.
- Restart the controller and confirm group re-synchronization.
Lag in control paths often predicts playback drift.
Perform Final Alignment and Calibration
Screen alignment settles only after the system warms. Perform the final alignment once operational brightness has stabilized. This matters most when creating a seamless display where viewer attention moves across screens without visual interruption.
Proceed with calibration:
- Display a shared test pattern across all screens.
- Adjust brightness for ambient light in the environment.
- Tune gamma and temperature to match across panels.
- Confirm panoramic motion transitions on large-format or custom shapes.
The goal is to make panel boundaries visually irrelevant.
Establish an Operations Baseline
Once the wall goes live, observe the first continuous operational window. Log panel temperature variance, synchronization stability, CPU/GPU workload, and error events from the controller. This establishes the baseline profile for ongoing maintenance, especially in environments such as conference rooms, visitor halls, retail stores, or areas containing interactive displays where display content shifts frequently.
This baseline keeps the wall consistent over time and reduces long-term troubleshooting. Strong content creation routines will also keep LED video and LED screens performing at their intended presentation clarity.
Work With a Professional Deployment Partner
After everything discussed here, one point stands out. A multi-screen installation demands coordination among mounting precision, timing control, network configuration, long-term support, and hardware calibration. Video walls provide a strong visual presence only when every component performs consistently. Without experience guiding the process, the system can lose alignment, drift in timing, or show inconsistent brightness levels from screen to screen.
This is where partnering with a specialized provider becomes practical. A team experienced in multi-screen systems can handle planning, installation, structured wiring, and content deployment. For teams setting up walls in command centers, retail environments, trade shows, or large public spaces, this reduces the operational load significantly.
A company such as CrownTV manages multi-screen installations daily. The platform supports grouped playback controls, customized content scheduling, and synchronized updates across locations. It allows teams to create content through its advanced digital signage software that fits the exact aspect ratios of the wall, rather than stretching content from a single screen or single TV source.
Content can also include interactive content when engagement is the goal. The system can connect each display into one coordinated surface or schedule different content across zones for varied audience flows.
During installation, CrownTV accounts for:
- Site layout and wider viewing angles for visibility
- Structured wiring with the correct HDMI cable types and distances
- Hardware selection that matches the best technology and best equipment for the environment
- A step-by-step guide for operational teams who want oversight rather than day-to-day maintenance
An experienced AV integrator removes uncertainty from the first step to live operation. This approach supports customers who want the big picture impact without taking on the technical burden themselves. Working with a partner experienced in deploying multi-screen systems helps the wall hold its visual alignment, content synchronicity, and operational stability over time.
Video Walls That Look the Way You Intended with CrownTV
A well-built video wall leaves an impression before anyone reads a word or hears a message. It communicates scale, precision, and clarity through the way its screens work together. When layout, hardware, content sync, calibration, and deployment are handled with intention, the wall stops being a stack of screens and becomes a single visual surface that carries the message without distraction.
What this process ultimately achieves:
- Content reads smoothly across every panel without lag or mismatch.
- Visual rhythm stays intact, so attention follows the screen group naturally.
- Maintenance becomes predictable instead of reactive troubleshooting.
- Updates roll out centrally, even across multiple sites.
- The installation holds up over time without constant realignment.
These outcomes aren’t aesthetic perks. They’re operational advantages. A stable, well-coordinated video wall cuts down support hours, reduces downtime, and protects the investment long-term.
If the goal is to build a setup that continues to perform day after day, it helps to work with a provider built for this exact category of display work. CrownTV supports multi-screen environments with a cloud-based platform that manages grouped playback from one dashboard, commercial display sourcing that matches performance needs, and installation rollout services that handle mounting, wiring, calibration, and tuning.
For teams in the U.S., this creates one continuous line from planning through long-term upkeep, which is ultimately what keeps a jaw-dropping video wall jaw-dropping.